How to Cover Up Acne, Redness, & Textured Skin
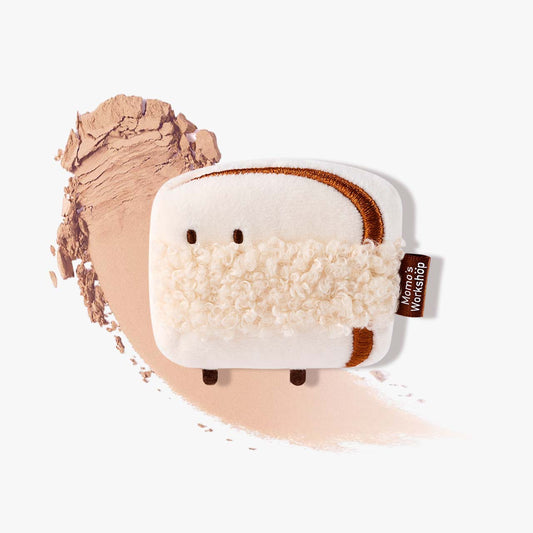
Covering acne, redness, and textured skin can be challenging, especially if makeup tends to look cakey or settles into pores. One simple technique that works extremely well is applying foundation and concealer with a makeup puff. Using a puff helps create a smoother, more blurred finish without disturbing texture. This guide explains exactly how to use a makeup puff to achieve an even base, along with tips that work especially well for acne-prone or irritated skin. At Momo’s Workshop, we use puffs for almost everything because they create a soft, natural finish that looks like skin instead of makeup.
Why a Makeup Puff Works for Acne and Texture
A makeup puff gives you more control than brushes or sponges, especially when dealing with bumps or sensitivity. Pressing instead of swiping helps the product sit smoothly on top of the skin. Velvet puffs also distribute product evenly so you avoid streaks, patchiness, or buildup around breakouts. They’re gentle, easy to wash, and ideal for everyday use on acne or redness. If your skin tends to react easily, a puff minimizes friction and helps avoid lifting dry or irritated areas.
Step-by-Step: How to Cover Acne, Redness, and Texture Using a Makeup Puff
1. Prep with Lightweight Hydration
Hydration helps foundation glide over texture. Use a lightweight gel moisturizer or calming serum to balance the skin. Ingredients like niacinamide, green tea, or centella are great for reducing redness before makeup.
2. Use a Blurring or Redness-Calming Primer
A thin layer of primer helps smooth pores and patches so your base applies more evenly. Applying using your hands and massage it onto your face. Focus on areas with texture or discoloration.
3. Pick Up Foundation with a Puff
Place a bit of foundation on the back of your hand and lightly tap the puff into it. Avoid soaking the puff completely. You want a thin, controlled layer for the first pass. Both Drytouch and Hydrablend puffs work well with foundation.
4. Press, Don’t Swipe
Press the puff into the skin using small tapping motions. Start on areas where you want more coverage, like the cheeks, chin, or forehead. Pressing helps the foundation settle smoothly without emphasizing bumps or dryness. Continue tapping until the product blends naturally into the skin.
5. Build Coverage Slowly
If you need more coverage, add it only where necessary instead of applying another full layer. Lightly tap more product on red spots or breakouts. The puff helps blend edges seamlessly so extra layers don’t look heavy.
6. Spot Conceal with the Edge of a Small Sized Puff
Apply a small dot of concealer directly onto a blemish. Let it sit for a few seconds, then tap it in using the pointed or folded edge of the puff. This keeps the concealer in place while softening the edges for a natural look.
7. Set with Powder Using a Velour Puff
Press a small amount of powder onto oily areas like the T-zone. Using a velour puff to set your base creates a smoother, blurred finish compared to a brush. It also helps prevent separation around textured areas.
Tips for Smooth, Long-Lasting Coverage
-
Build coverage in thin layers
-
Avoid dragging motions
-
Choose foundations with a natural or satin finish
-
Use color correctors (like green) to soften intense redness
-
Keep your puff clean to avoid irritation or breakouts
How We Use Puffs at Momo’s Workshop
At Momo’s Workshop, our team uses makeup puffs daily because they’re gentle, precise, and ideal for acne-prone or textured skin. Whether you’re blending foundation, spot concealing, setting with powder, or doing touch-ups throughout the day, a puff makes the process easier and more skin-friendly. It’s a small tool that makes a big difference in how your makeup sits on the skin.


